A wall mounted pull up bar is the cheapest serious piece of strength equipment you can own. It takes up no floor space, it never needs power, and it trains more of the upper body than any single machine in most gyms.
This guide covers which walls are safe to fix to and which are not, how to choose height and clearance, what the grip positions are actually for, a beginner progression that works from zero repetitions, maintenance, troubleshooting and six questions buyers in Saudi Arabia ask before ordering.
Why this is the best value home gym purchase
Home gym equipment has a poor reputation for a reason: most of it is bulky, single-purpose and eventually used for hanging laundry. A wall mounted pull up bar avoids all three problems.
Pull-ups and chin-ups train the back, shoulders, arms and grip in one movement, using body weight as the load. That makes a wall mounted pull up bar useful for a complete beginner and for someone who is already strong, without buying anything else.
It also occupies wall space rather than floor space, which is what matters in an apartment. A treadmill needs a room; a bar needs a metre of clear wall and some headroom.
The last reason is durability. There is nothing to break: no motor, no electronics, no moving parts. A well-fitted wall mounted pull up bar in solid masonry will outlast almost everything else you buy for training at home.
Doorway, wall, ceiling or freestanding
There are four ways to get a bar at home, and they suit very different situations.
Doorway bars wedge or hook into a frame. They are cheap and portable, they limit your grip options, and they depend entirely on the strength of the door frame, which is rarely designed for the job.
Wall mounted bars bolt to masonry and take the load into the structure of the building. A wall mounted pull up bar offers wider grips, more clearance and far more confidence at the top of a repetition.
Ceiling mounted bars give the best clearance for swinging movements and demand a suitable joist or slab overhead. They are the hardest to install correctly.
Freestanding towers need no fixings at all and take a large amount of floor space. They suit a garage or a spare room rather than a bedroom wall.
For most people with a solid wall, the wall mounted pull up bar is the sensible middle ground: strong, permanent and out of the way.
The wall question, answered honestly
This is the part of the purchase that matters most, and it is where the biggest mistakes are made.
Solid concrete, poured slab and dense solid brick are the walls this equipment is designed for. Fixed properly into that kind of structure, the bar is not the weak point.
Hollow blockwork is a maybe, and it depends entirely on using the right anchors for hollow material and on the condition of the block. If you are not certain what your wall is made of, that uncertainty is itself the answer: get advice.
Plasterboard, stud partitions, thin partition walls and any wall you can push a screwdriver through are a definite no. No fixing turns a hollow partition into a safe anchor for a wall mounted pull up bar carrying a swinging adult.
Rendered or tiled walls hide what is underneath, so drill a small test hole first and look at what comes out. Fine grey dust suggests concrete; red dust suggests brick; a sudden drop through into a cavity tells you to stop.
If there is any doubt at all, have it fitted by a builder or a qualified installer. This is a piece of equipment that holds a person off the ground, and there is no sensible reason to guess.
What makes a good wall mounted pull up bar
Once the wall is sorted, five features separate a wall mounted pull up bar that inspires confidence from one that flexes.
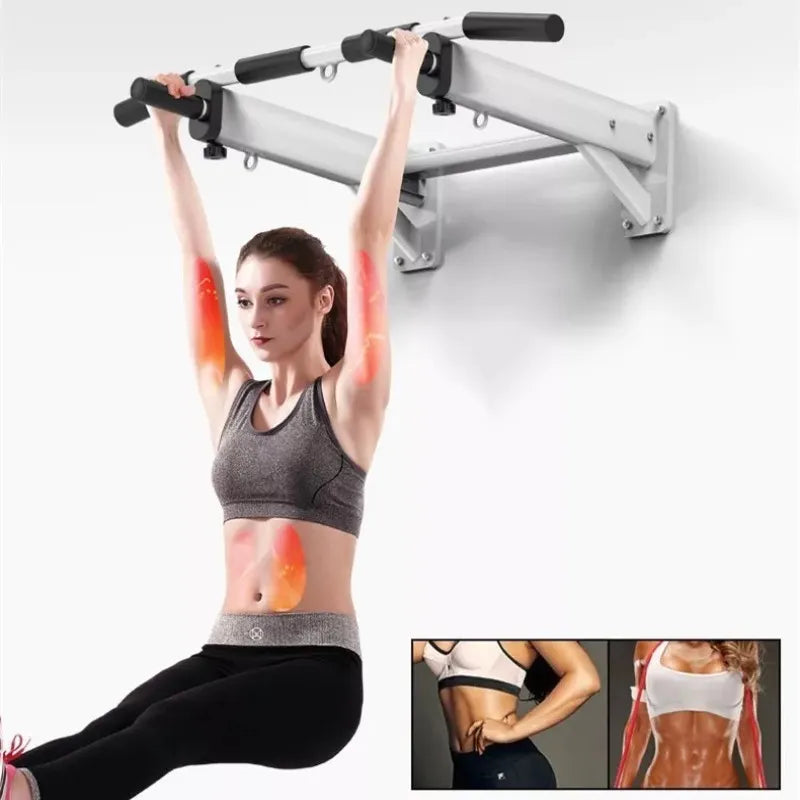
Steel and welds
Look at tube thickness and at the welds where the arms meet the wall plates. Clean, continuous welds and thick steel are what carry load; paint quality tells you nothing about strength.
The listing describes heavy-duty steel construction and states support for up to 150kg. Treat any stated limit as a maximum for a controlled movement, not an invitation to add weight and swing.
Grip positions
Multiple grips are the main advantage of this design over a doorway bar. Wide grips bias the lats, narrow and neutral grips bring in more arm work, and a chin-up grip is the easiest starting point for most people.
The WLD Store listing describes wide, narrow and neutral positions for pull-ups, chin-ups and hanging exercises, which covers everything most people will do on a wall mounted pull up bar.
Wall plate spread
Wider plates with four or more fixing points each spread the load over more of the wall. Two small plates with two bolts each concentrate everything into four holes, which is exactly what you do not want in older masonry.
Distance from the wall
The arms need to hold the bar far enough out that your head, knees and feet clear the wall through a full repetition. Too close and every set becomes cramped and awkward.
Grip comfort
Knurled or foam-covered sections make longer sets bearable. Bare smooth tube is harder to hold, and grip is often the first thing that fails on a beginner’s wall mounted pull up bar sessions.
The WLD Store pick: Wall Mounted Pull Up Bar
Here is what the WLD Store listing states about this wall mounted pull up bar, with nothing added.
- Product: Wall Mounted Pull Up Bar, a multi-grip home gym bar listed under Sports & Fitness.
- Brand: WLD.
- Grips: the listing describes multiple positions for wide, narrow and neutral pull-ups, chin-ups and hanging exercises.
- Construction: described as heavy-duty steel.
- Stated capacity: the listing states it supports up to 150kg safely.
- Fitting: the listing describes easy wall installation with all hardware included.
- Market: available across Saudi Arabia, with secure checkout.
- SKU: WLD-KSA-0157-(KD-38-1159).
Dimensions, fixing centres and current photographs are on the Wall Mounted Pull Up Bar product page. Check the supplied fixings against your wall type before installation, and buy suitable anchors separately if your wall needs them.
Installing it properly
Take your time here. An hour spent planning is worth more than any feature on the wall mounted pull up bar itself.
- 1. Confirm the wall type with a test hole before committing to a position.
- 2. Check for hidden services. Use a detector to find cables and pipes, and never drill blind above a socket or a switch.
- 3. Set the height by reach, not by rule. With arms fully extended overhead you want a small jump or a step to reach the bar, and enough room above for your chin to clear it.
- 4. Check headroom. Measure from the intended bar position to the ceiling and add the height of your head at the top of a repetition.
- 5. Check the swing space. Nothing should be within reach of your feet behind you, and a wall mounted pull up bar over a doorway or a walkway is a hazard.
- 6. Mark and drill level. Use the plate as a template, drill the correct diameter for your anchors and clear the dust from every hole.
- 7. Tighten evenly and progressively, working diagonally across the fixing points rather than fully tightening one at a time.
- 8. Load test before use. Hang with both feet on the ground first, then take your weight gradually rather than jumping straight up.
Retighten every bolt after the first week and then every few months. Masonry fixings bed in under load, and a quick check with a spanner is the whole of the safety routine for a wall mounted pull up bar.
Safety checks before every session
Ten seconds of checks on a wall mounted pull up bar before each workout prevents nearly everything that goes wrong.
Look at the wall around each plate for cracks, dust or movement. Fresh dust at a fixing point is a warning sign that deserves investigation before you hang from it.
Grip the bar and pull down hard with both hands while standing. Any creak, flex or shift means stop and check the fixings rather than starting the set.
Clear the floor underneath. A wall mounted pull up bar sits above a landing zone, and landing on a dumbbell or a phone is a genuinely common injury at home.
Finally, check your own hands. Chalk or clean, dry hands make an enormous difference to grip security compared with hands that are already sweaty.
What you can actually train on it
A wall mounted pull up bar is far more versatile than its name suggests, which is why it earns its place on a wall.
- Dead hangs build grip and decompress the shoulders. They are the honest starting point for most beginners.
- Chin-ups with palms facing you are usually the easiest variation, because the biceps contribute more.
- Pull-ups with palms facing away are harder and bias the back more strongly.
- Neutral grip pull-ups are often the most shoulder-friendly option, which is why a multi-grip wall mounted pull up bar is worth the extra outlay.
- Knee and leg raises train the abdominals with no floor equipment at all.
- Negatives: jump or step to the top position and lower slowly. This is the single most effective way to build towards a first repetition.
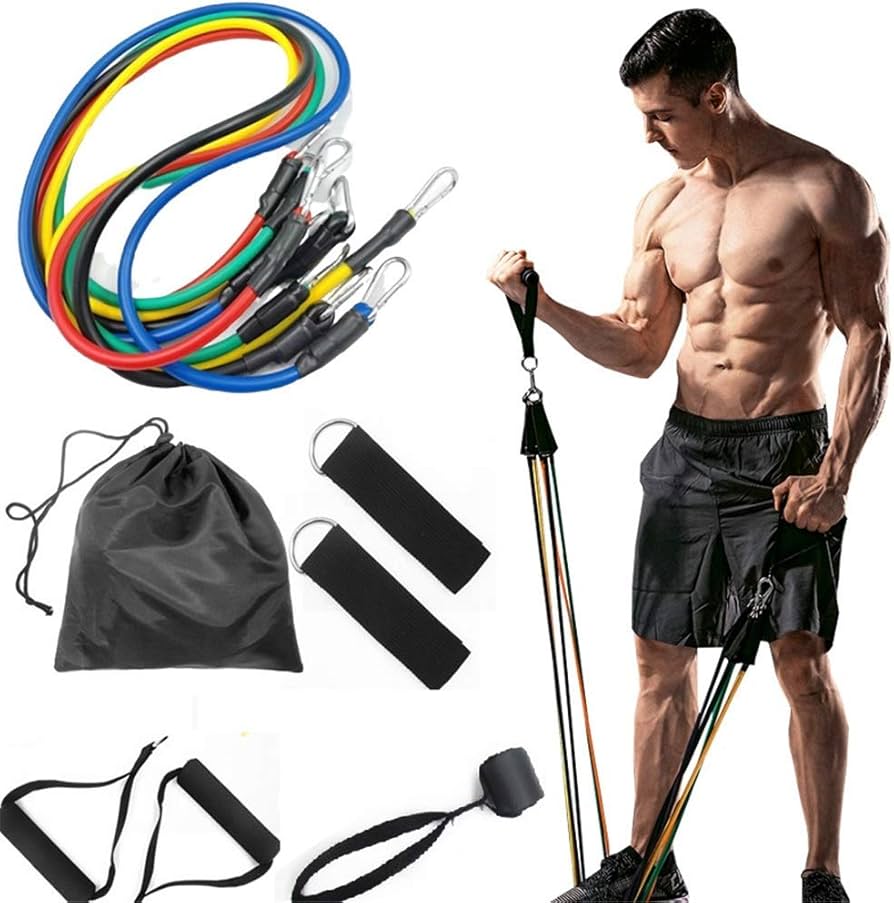
Resistance bands looped over the bar reduce body weight through the hardest part of the movement, which is why band-assisted work is the standard route from zero to a full pull-up. The movement itself is described on the pull-up exercise reference page.
A simple beginner progression
Most people cannot do a pull-up when they start, and that is completely normal. Progress comes from a structured route rather than repeated failed attempts.
Weeks one and two: dead hangs. Three sets, hanging as long as is comfortable, three days a week. Grip and shoulder tolerance have to come first.
Weeks three to five: negatives. Step up to the top position, then lower under control over three to five seconds. Three sets of three to five repetitions.
Weeks six to ten: band-assisted pull-ups. Use the lightest band that lets you complete five clean repetitions, then reduce assistance as you improve.
From there: full repetitions, adding volume before adding difficulty. A wall mounted pull up bar rewards frequent, submaximal practice far more than occasional maximum effort.
Rest at least a day between sessions, and stop a set when form breaks down rather than grinding out a last ugly repetition. If you have any shoulder, elbow or back problem, get proper advice before starting.
Care and maintenance
A wall mounted pull up bar needs very little maintenance, which is part of the appeal.
Wipe the wall mounted pull up bar down after use. Sweat corrodes bare steel over time and makes the grip slippery for the next session.
Check the bolts with a spanner every few months, and after any period of heavy use. This is the only genuine maintenance a wall mounted pull up bar needs.
Inspect padding and grip covers for splits, and replace them rather than training on torn foam that hides the tube underneath.
If the finish chips, touch it up. Humidity and sweat find bare metal quickly, and surface rust is easier to prevent than to remove.
Common problems and quick fixes
Four issues cover almost everything owners report.
- The bar creaks under load. Usually bolts bedding in. Retighten evenly; if creaking continues or dust appears, stop using it and check the wall.
- Your head or knees hit the wall. The arms are too short for your build. Fit spacers only if the manufacturer supplies them, or move to a position with more clearance.
- Grip fails before the back does. Normal for beginners. Add dead hangs and use chalk; grip strength catches up within weeks.
- A fixing point loosens repeatedly. The anchor is wrong for the wall. Do not keep retightening a wall mounted pull up bar that will not stay tight; have the fixing reassessed.
Buying checklist
Five questions before ordering a wall mounted pull up bar.
- What is your wall made of? Solid masonry is the requirement; partitions are not suitable.
- Is there enough headroom? Measure before you buy, not after it arrives.
- Do you need multiple grips? Neutral grips are worth having if your shoulders are at all sensitive.
- Are the supplied fixings right for your wall? Many kits include general-purpose bolts that suit some walls and not others.
- Who is fitting it? If the honest answer is nobody confident, budget for an installer.
When a different option is better
There are situations where this is the wrong purchase, and recognising them saves money and damage.
In a rented apartment where drilling is not permitted, a wall mounted pull up bar is simply not an option. A doorway bar or a freestanding tower is the realistic alternative.
In a home with only partition walls, the same applies. No amount of careful drilling makes a hollow stud wall safe for hanging body weight.
And if you want swinging or kipping movements, check the clearance carefully. Those exercises need much more space than strict pull-ups, and a ceiling mount often suits them better.
Where to fit it in a small apartment
Space is usually the deciding factor, and a little planning finds a workable position in most homes.
A corridor wall is often the best candidate. Corridors are usually built on solid internal masonry, they are rarely furnished, and the floor underneath is already clear.
Above a doorway is another option worth considering, provided the lintel area is solid and you are not fixing into the frame itself. Check the ceiling height there first, because door openings often sit under a lower soffit.
Avoid bedroom walls that back onto a neighbour’s living space if you can. The noise of a hanging session travels through masonry, and a wall mounted pull up bar used early in the morning is not a good neighbour.
Think about the floor as well as the wall. A hard tile floor under a bar is unforgiving if you drop from the top, and a rubber mat or an exercise mat underneath costs very little.
Finally, leave the area clear permanently. Equipment that has to be excavated before use gets used far less than equipment you can walk up to and hang from.
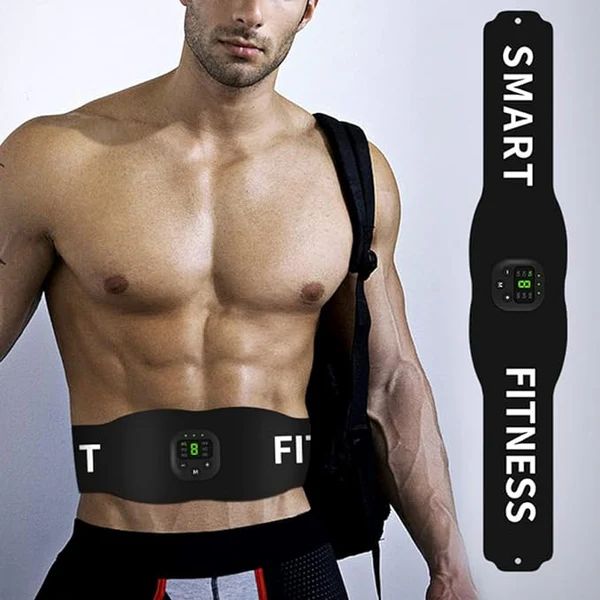
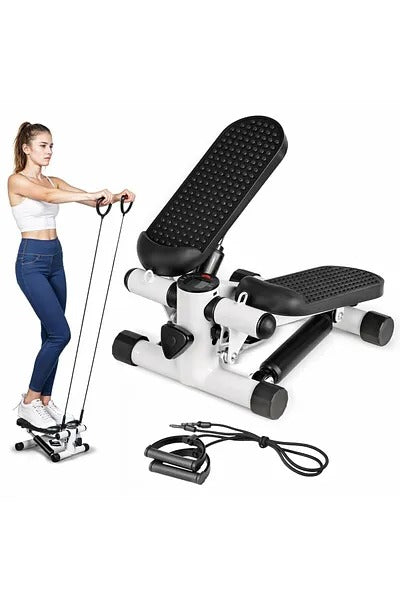
Other Sports & Fitness picks at WLD Store
Three more items from the same range that work well alongside a bar.
Frequently asked questions about the wall mounted pull up bar
Can I fit it to a plasterboard wall?
No. Hollow partitions cannot safely carry a hanging adult, whatever anchor is used. Solid masonry or concrete is the requirement, and if you are unsure, ask a builder before drilling.
How much weight does it hold?
The listing states support for up to 150kg. That figure assumes correct installation into a suitable wall; the fixings and the wall are usually the limiting factor rather than the steel.
How high should it be?
High enough that you hang with arms fully extended and feet clear of the floor, with room above for your chin to pass the bar. Bending the knees is normal in a room with limited height.
Will it damage the wall?
Correctly fitted into solid masonry, the holes are the only mark. A wall mounted pull up bar fitted into an unsuitable wall can cause real damage, which is the reason for the test hole.
Can beginners use it?
Yes, starting with dead hangs and negatives rather than full repetitions. Most people build to a first pull-up over a couple of months of consistent, sensible practice.
Do I need any other equipment?
Nothing essential. A set of resistance bands is the one addition that genuinely accelerates progress on a wall mounted pull up bar, and chalk helps if your hands sweat.
Get the wall right, fit it carefully, check the bolts occasionally and build up gradually. Done that way, this is a piece of equipment you will still be using in ten years. You can see the current listing on the Wall Mounted Pull Up Bar page, or browse the rest of the fitness range in the Sports & Fitness section.


Add comment