A ceramic curling wand is the tool that turned home curling from a gamble into a repeatable routine. There is no clamp to crease the hair, no fixed shape to fight, and no need to book an appointment for waves that hold until bedtime.
This guide explains what separates a wand from a traditional curling iron, what ceramic coating actually contributes, how to pick a temperature for your hair type, the step-by-step technique that produces even curls, and how to make them last. There is a maintenance routine, a troubleshooting list, a buying checklist and six questions answered for readers in Saudi Arabia.
Why a wand beats a clamped iron
A traditional curling iron holds the hair against the barrel with a spring-loaded clamp. That clamp is convenient, and it is also the source of the two most common complaints about home curling.
The first is the crease. Wherever the clamp grips, the hair is pressed flat, and that flattened line is visible once the curl drops. A ceramic curling wand has no clamp, so the strand is wrapped smoothly from root to tip with nothing pressing on it.
The second is shape control. With a clamp you are limited to where the jaw can grip. Wrapping by hand lets you choose exactly where the curl starts, how tightly it winds and how much of the end is left straight.
The trade-off is honest: a ceramic curling wand needs a heat-resistant glove and a little more practice, because your fingers guide the hair rather than a mechanism. Most people are comfortable after three or four sessions.
What the ceramic coating actually does
The barrel material on a ceramic curling wand is not a marketing detail. It changes how the heat reaches the hair and how much damage that heat causes.
Bare metal barrels heat unevenly, producing hot spots that scorch one section while another section barely sets. Ceramic conducts heat smoothly across the whole surface, so the temperature the hair meets is the temperature you selected.
It is also slick, which matters more than it sounds. Hair slides over a ceramic curling wand rather than catching on it, and less friction means fewer snags, less breakage and a smoother finish on the cuticle. The general category of heated styling tools is described on the hair iron reference page.
What makes a good ceramic curling wand
One ceramic curling wand looks much like another in a photograph, and they behave very differently in the hand. Four things decide whether one becomes a favourite.
Adjustable temperature rather than one setting
This is the most important feature by a wide margin. Fine hair sets at a much lower temperature than coarse or thick hair, and a single-heat tool is guaranteed to be wrong for someone.
An adjustable ceramic curling wand lets you start low and work up until the curl holds, which is the only sensible way to find the lowest temperature that works for your hair.
Even, consistent heating
A wand that recovers heat quickly between sections gives consistent curls from the first strand to the last. One that cools as you work produces tight curls at the front and loose ones at the back.
This is where a ceramic barrel earns its place, because the material distributes and holds heat far more evenly than plain metal.
Auto shutoff
Every heated styling tool eventually gets left plugged in. An automatic shutoff turns the element off after a period of inactivity, which is the single most valuable safety feature on any ceramic curling wand.
It also removes the doorstep moment of doubt on the way out, which is worth something on its own.
Barrel size and a comfortable grip
Barrel diameter sets the curl size. Narrower barrels give tighter, springier curls; wider ones give loose waves. Choose according to the look you actually wear rather than the one in the photograph.
Grip and balance matter for long hair, because your arm is raised for several minutes at a time. A wand that feels comfortable for thirty seconds may not feel comfortable for ten minutes.
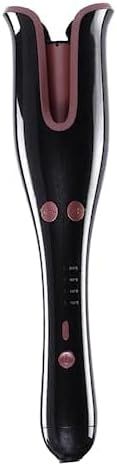
The WLD Store pick: Joy Professional Home Hair Curler
WLD Store lists a ceramic-coated model matching the priorities above. Here is exactly what the listing states, with nothing added:
- Product: Joy Professional Home Hair Curler, sold under the WLD brand.
- Barrel: ceramic-coated curling wand.
- Result: defined, frizz-free curls and waves in minutes.
- Heat: adjustable temperature settings suited to all hair types from fine to thick.
- Safety: auto-shutoff feature.
- Category: Beauty & Personal Care, in the Hair Care section.
- Availability: stocked for customers across Saudi Arabia.
- SKU: WLD-KSA-0081-(KD-KD0119).
Photographs, current availability and secure checkout are on the Joy Professional Home Hair Curler product page.
Choosing the right temperature for your hair
Temperature is where most ceramic curling wand sessions go wrong, and the correction is simple: use the lowest setting that holds a curl.
Fine, light or chemically treated hair sets quickly and burns easily. Start at the bottom of the range on a ceramic curling wand and only increase if the curl falls out within minutes.
Medium hair usually sits comfortably in the middle of the range. This is the largest group, and the middle setting is a sensible starting point for most people.
Thick, coarse or very dark hair needs more heat to reshape, and that is a structural fact rather than a failing. Even so, work upward from the middle rather than starting at maximum.
Colour-treated hair deserves particular care. Heat accelerates fading, so a lower temperature and a heat protectant preserve both the curl and the colour you paid for.
How to curl, step by step
Ceramic curling wand technique is easy to learn and hard to improvise, so it is worth following in order the first few times.
- Start with completely dry hair. Any moisture turns to steam against a hot barrel, and that is what causes real damage.
- Apply heat protectant evenly. Spray through mid-lengths and ends, comb it through, and let it dry fully before switching the tool on.
- Section the hair. Clip the top half up and work from the nape upward. Sections roughly the width of two fingers give the most even result.
- Wear the heat glove. A ceramic curling wand has no clamp, so your hand holds the end of the strand. The glove is not optional.
- Wrap away from the face. Hold the wand vertically, start near the root, and wind the strand down the barrel without overlapping.
- Count, do not guess. Five to eight seconds is enough for most hair. Longer does not make the curl last; it only adds heat.
- Release into your palm. Catch the curl, hold its shape for a few seconds while it cools, then let it drop.
Let every curl cool completely before touching your hair. Cooling is the step that sets the shape, and brushing warm curls is the fastest way to undo the whole session.
Getting different curl shapes
One ceramic curling wand produces several looks depending entirely on how you wrap.
For tight, defined curls, take narrow sections and wrap them close together down the barrel. Smaller sections mean more curls and more visible definition.
For loose beach waves, take wider sections, wrap more loosely and leave the last few centimetres of the ends unwrapped. That straight tip is what makes a wave look effortless rather than styled.
For volume at the root, start the wrap higher up the strand. A ceramic curling wand used close to the root lifts hair away from the head, which flat curls never do.
For a natural finish, alternate direction. Wrapping some sections toward the face and some away breaks up the uniformity that makes home curling look obviously done.
Making curls last through the day
Holding a curl from a ceramic curling wand is more about preparation and cooling than about heat.
Start with clean, product-free hair. Conditioner residue and oil both weigh hair down and stop a curl holding, so the day after washing is often better than the day of.
Use a light hold spray before curling rather than only after. A small amount worked through the section gives the ceramic curling wand something to set against.
Pin each curl to the head with a clip while it cools, then release them all at the end. This is the single biggest difference between curls that last two hours and curls that last all evening.
Finish with a light mist rather than a heavy coating. Too much spray makes curls stiff and, once they collapse under the weight, unrecoverable.
Heat protection and hair health
A ceramic curling wand asks something of your hair, and the aim is to keep that cost low.
Heat protectant is not optional. It forms a barrier that slows how quickly heat reaches the hair shaft, and it makes a measurable difference over months of regular styling.
Limit how often you style. Two or three times a week gives hair time to recover, and a ceramic curling wand used on a wash-day schedule does far less cumulative damage than daily use.
Never pass over the same section repeatedly. If a curl did not take, the answer is a slightly higher setting or a smaller section, not four more passes at the same heat.
Watch the ends. They are the oldest, driest part of the hair and the first to show damage, which is why leaving the last centimetre or two unwrapped is good practice as well as good styling.
Care and maintenance
A ceramic curling wand that is looked after keeps performing evenly for years.
Let it cool completely before cleaning or storing. This sounds obvious and is the rule most often broken when people are in a hurry.
Wipe the barrel regularly with a soft, slightly damp cloth. Product residue bakes onto the surface and creates exactly the sticky spots that a ceramic curling wand is meant to avoid.
Never use abrasives or solvents on the barrel. The coating is what makes the tool work, and once it is scratched the hair will catch there permanently.
Store it in a heat-resistant pouch or stand rather than loose in a drawer. Knocking the barrel against hard objects chips the coating.
Coil the cable loosely and never wrap it tightly around a hot tool. Cable damage at the strain point is the most common failure on any heated appliance.
Prepping hair before you switch the tool on
What happens before a ceramic curling wand heats up decides most of the result, and the preparation takes about five minutes.
Dry hair fully, all the way to the roots. Hair that feels dry on the surface is often still damp underneath, and a ceramic curling wand applied to that hidden moisture is where damage starts.
Brush thoroughly to remove tangles. A knot met halfway down a wrap forces you to pull, and pulling against a hot barrel is how breakage happens.
Keep styling product light and let it dry. Heavy creams and oils sit on the surface, transfer straight onto the barrel and leave a residue that makes the next session worse.
Set out everything you need first: clips, glove, protectant, a mirror you can actually see the back in. Working around a hot ceramic curling wand with one hand full is where accidents happen.
Styling different hair lengths
Length changes ceramic curling wand technique more than hair type does, and small adjustments make a large difference.
Shoulder-length hair is the easiest starting point. Sections are short enough to wrap in one motion, and a ceramic curling wand held vertically reaches every part of the head comfortably.
Long hair needs smaller sections than people expect. A thick strand will not heat evenly through its bulk, so the outside curls while the inside stays straight and drags the shape out within the hour.
Layered hair benefits from working layer by layer rather than by area. Clip everything up, release one layer at a time, and the curls will sit together instead of fighting each other.
For a bob or a shorter cut, wrap only the mid-lengths and ends. Starting a curl too close to the root on short hair produces volume in the wrong place and a shape that is hard to soften afterwards.
Common problems and quick fixes
- Curls fall out within an hour. Either the hair was still warm when brushed, or the temperature was too low. Pin curls while cooling first, and only then raise the heat.
- Hair looks frizzy after curling. Usually damp hair, missing heat protectant, or sections that are too large. Dry fully and reduce section size.
- Curls are uneven front to back. Section sizes are varying, or the wrap direction is inconsistent. Use a comb to take even sections and keep a deliberate pattern.
- The barrel feels sticky. Product build-up. Cool it fully, wipe with a slightly damp soft cloth, and use less product before styling in future.
Wand, clamp iron or straightener
All three can produce a curl, and each suits a different person, so it is worth knowing where a ceramic curling wand fits.
A clamp iron is the easiest to learn because the mechanism holds the hair for you. The cost is the crease at the grip point and less control over where the curl begins.
A straightener can be used to create waves with a twisting motion, but it demands real practice and the result is less consistent for most people.
A ceramic curling wand gives the cleanest curl with the most control over shape, at the cost of needing a glove and a short learning period. For anyone curling more than occasionally, that trade is usually worth making.
Who should skip it
Anyone with very short hair will struggle. There needs to be enough length to wrap around a barrel, and a short crop simply does not provide it.
People who want a genuinely one-handed, foolproof tool may prefer a clamped iron. A ceramic curling wand asks you to hold the strand, and not everyone wants that.
If your hair is currently very damaged or over-processed, the sensible move is to repair it before adding a regular heat routine, and to ask a stylist what your hair can tolerate right now.
Buying checklist
- Does it have adjustable temperature? A single fixed heat is wrong for most hair types.
- Is the barrel truly ceramic-coated? This is what gives even heat and a smooth, snag-free glide.
- Does it shut off automatically? The most valuable safety feature on any heated styling tool.
- Is the barrel size right for my look? Narrow for defined curls, wider for loose waves.
- Is a heat glove included or available? You will need one from the very first session.
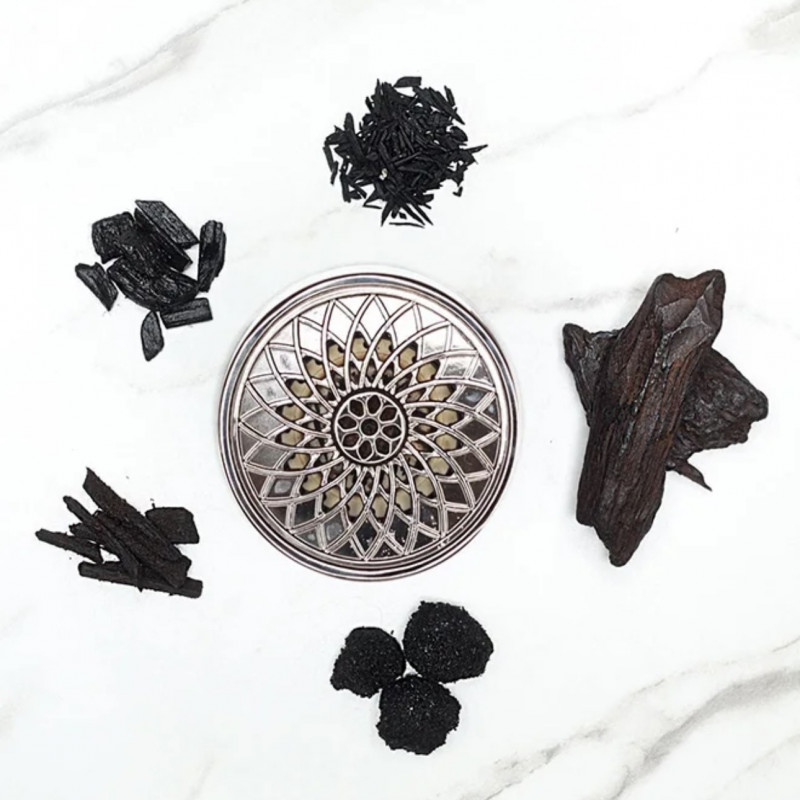
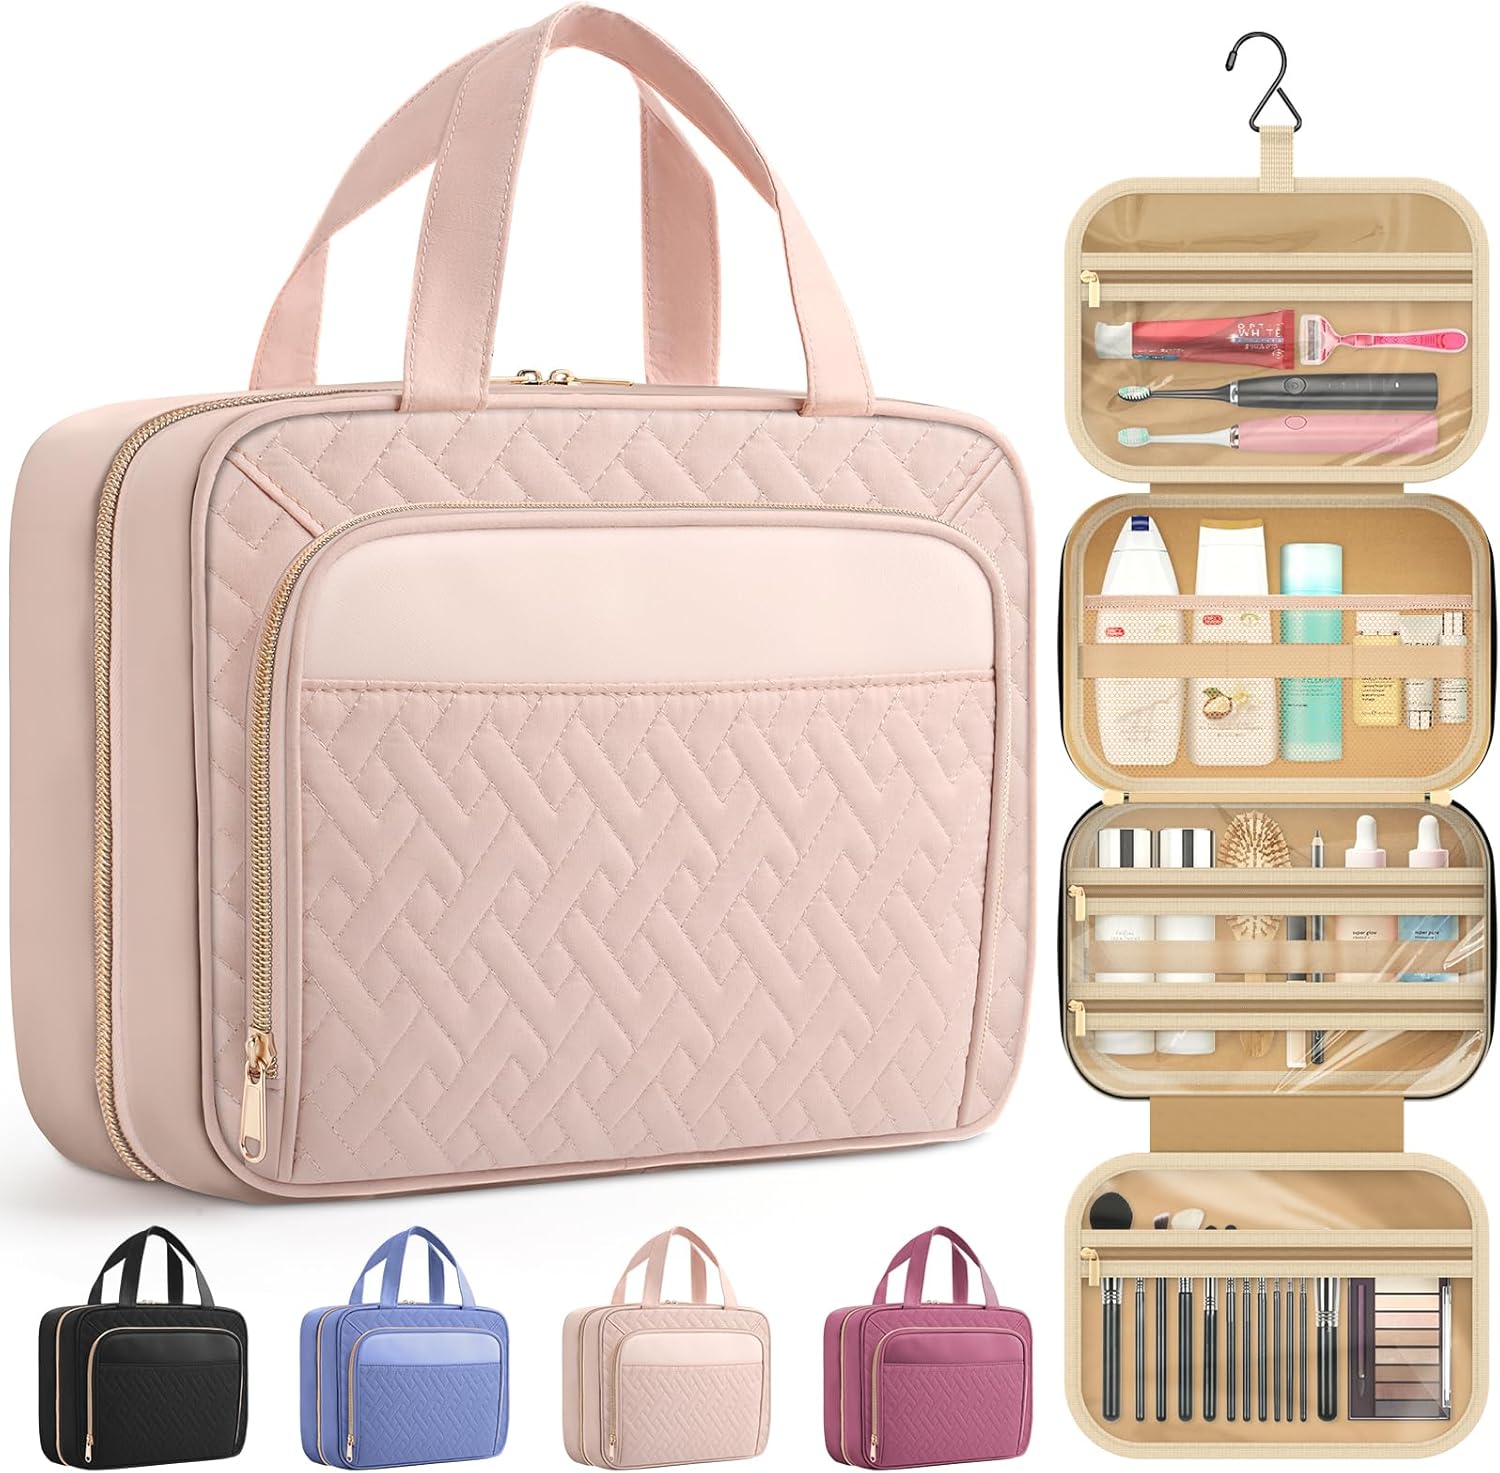
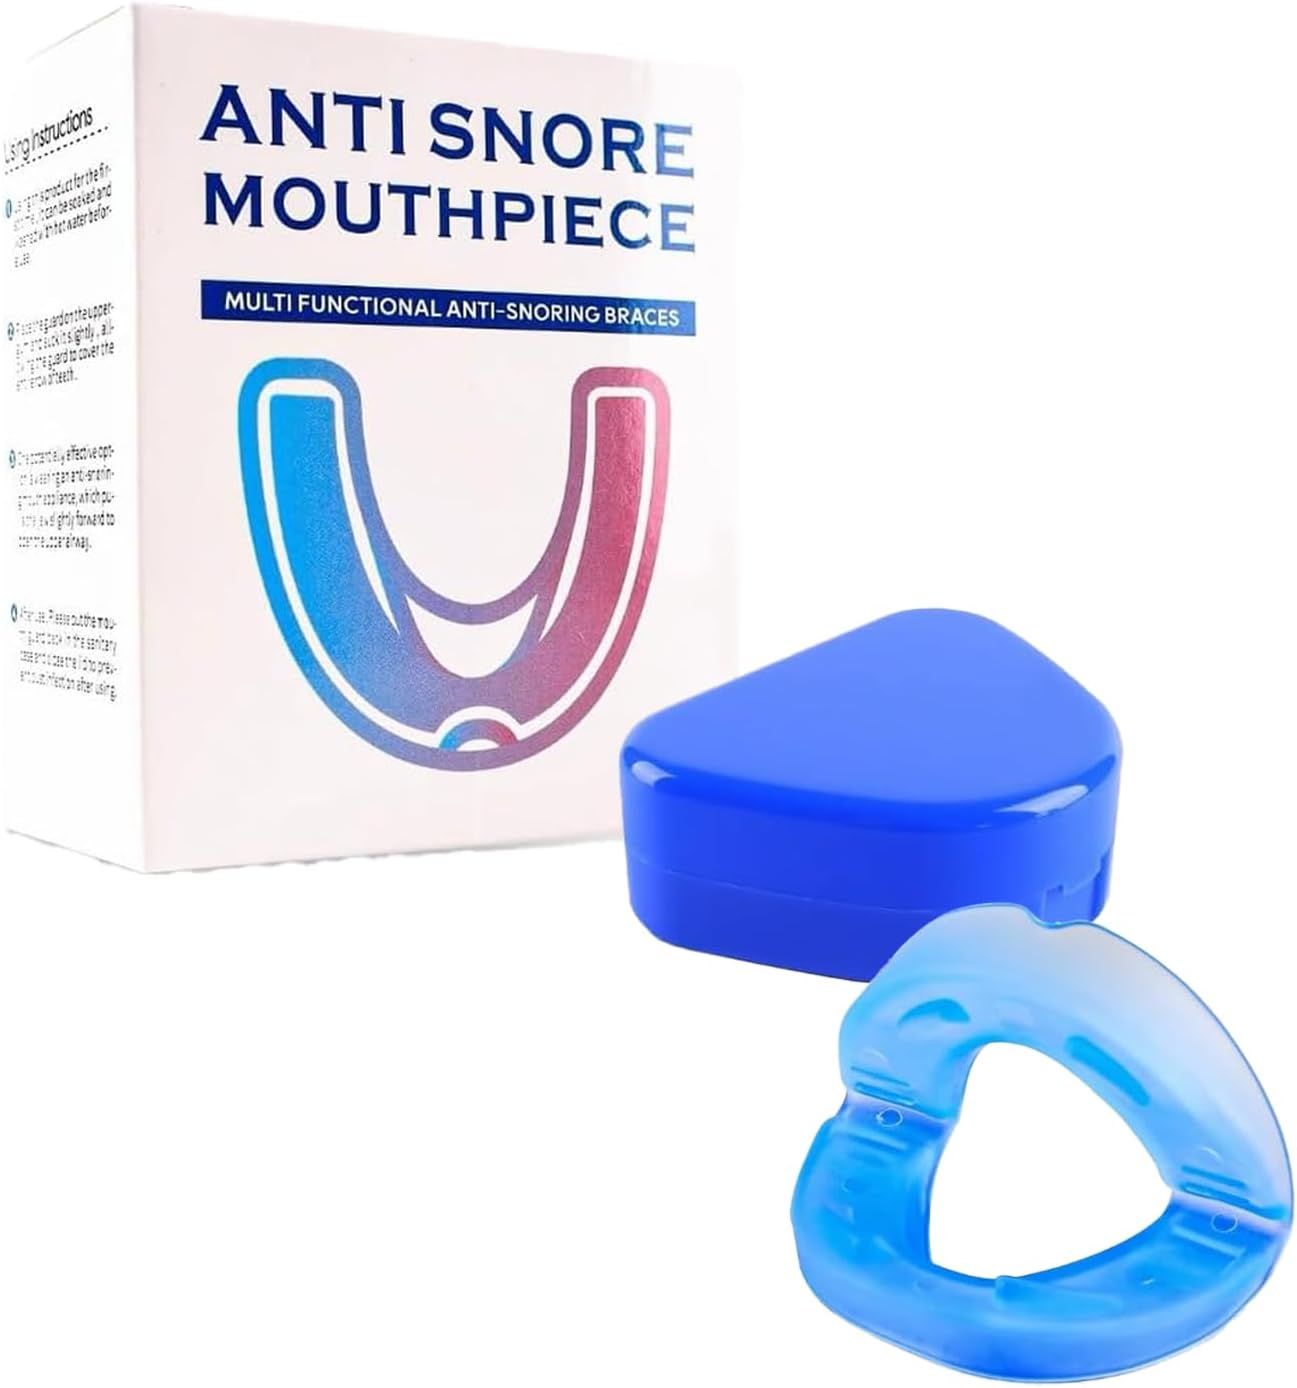
Other beauty and personal care picks at WLD Store
These related listings sit nearby in the Beauty & Personal Care range.
Frequently asked questions about the ceramic curling wand
Do I need a heat glove?
Yes. A wand has no clamp, so your fingers hold the end of the strand against a hot barrel. A heat-resistant glove is essential from the first session and usually the first thing experienced users recommend.
What temperature should I use?
The lowest one that holds a curl. Fine or treated hair belongs at the bottom of the range, medium hair in the middle, and thick or coarse hair higher. Work upward rather than starting at maximum.
Can I use it on damp hair?
No, never. Moisture turns to steam against the barrel, which damages the hair shaft and will not set a curl anyway. Hair must be completely dry before a ceramic curling wand touches it.
Why do my curls drop so quickly?
Most often because the hair was handled while still warm. Pin each curl to the head to cool, release them all at the end, and only then consider raising the temperature.
How often can I curl my hair?
Two or three times a week is a reasonable ceiling for most hair, always with heat protectant. Daily heat styling accumulates damage regardless of how good the tool is.
What curl size will I get?
That depends on the barrel diameter and your section size. Narrower barrels and smaller sections give tight defined curls; a wider wrap with the ends left out gives loose beach waves from the same ceramic curling wand.
With the right temperature and a little cooling patience, a ceramic curling wand produces results at home that used to require an appointment. You can see the current listing on the Joy Professional Home Hair Curler page or browse more hair care items in the Hair Care section, with secure checkout and availability across Saudi Arabia.


Add comment